Your refrigerator died on a Friday night in August. In Houston. With $300 worth of groceries inside. That’s not a hypothetical — that’s a rite of passage for anyone who’s owned a home in this city longer than five years. The heat here doesn’t just drain you; it works your appliances to death faster than almost anywhere else in the country.
Here’s the thing: the average American household spends between $150 and $400 per appliance repair call. A lot of that money? Completely avoidable. Either the fix was a $12 part and a YouTube video away, or the problem got so bad from neglect that a simple repair turned into a full replacement.
I’ve been elbow-deep in appliance diagnostics for nearly two decades — from washing machines that sound like a helicopter landing to ovens that heat unevenly because of one dirty sensor. And if you’re at the point where you need a reliable crew to handle it, Appliance Repair in Houston is a resource worth bookmarking before you need it urgently (because trust me, you will need it urgently).
But before you reach for the phone, read this. You might save yourself a service call entirely.
1. Jumping to the Phone Before Running Basic Diagnostics
This is the number one money-waster I see. Every. Single. Time.
Before assuming your appliance is broken, spend five minutes on the basics:
- Check the circuit breaker. A tripped breaker mimics a dead appliance perfectly.
- Look for the reset button. Garbage disposals, dishwashers, and some washing machines have manual reset buttons that solve 30% of “failures” instantly.
- Unplug it for 60 seconds. Modern appliances run on control boards — essentially mini-computers. A hard reset fixes glitches the same way restarting your laptop does.
When I first started out, I watched a technician charge a homeowner $95 just to press a reset button on the back of a washing machine. The homeowner had no idea it existed. Don’t be that homeowner.
Pro Tip: Before calling anyone, Google your exact model number + the symptom. Manufacturers often publish diagnostic flowcharts for free.
2. Buying the Wrong Replacement Parts
Parts mismatch is the silent killer of DIY appliance repair.
Every appliance model — even within the same brand — can have unique internal components. The dryer belt that fits a Whirlpool WED4950HW does not fit the WED5000DW, even though they look identical on the outside.
How to get it right:
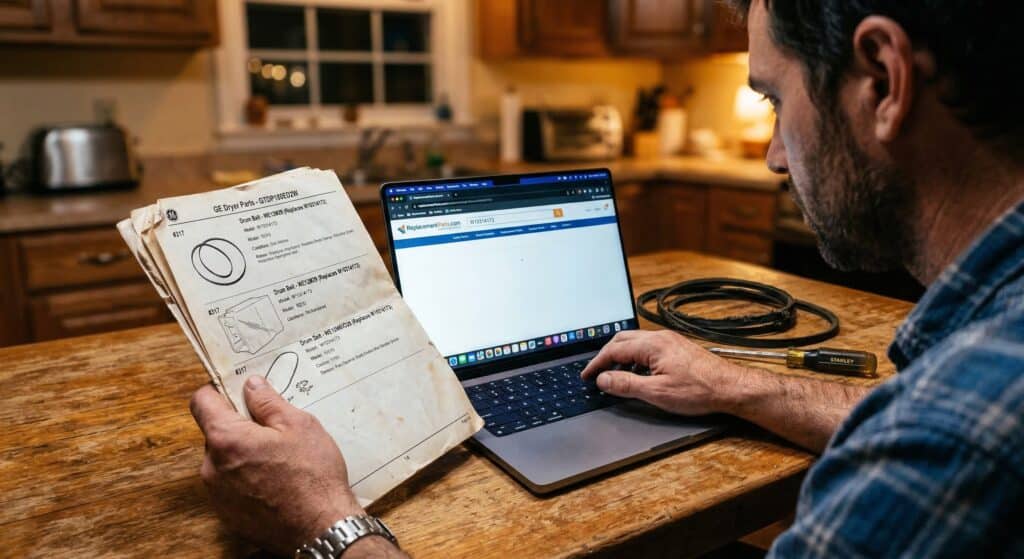
- Pull the model number from the label (usually inside the door frame, on the back panel, or under the lid).
- Use parts lookup sites like RepairClinic or PartSelect — enter the model number, not the brand name.
- Order OEM (Original Equipment Manufacturer) parts when possible. Aftermarket parts are cheaper, but fit and longevity vary wildly.
A mistake I made early on was ordering a “universal” ice maker kit for a Samsung fridge. Saved $40 upfront. Spent three hours on installation only to find the water inlet valve connector was 2mm off. Generic rarely means compatible.
3. Ignoring Error Codes Like They’re Spam
Modern appliances are practically begging to tell you what’s wrong. That blinking “F3” or “E4” code on your display isn’t random — it’s a specific diagnostic message from the control board.
Most people either ignore it or panic and call for service without looking it up first.
What to do instead:
- Write down the exact code.
- Search:
[Brand] [Model] error code [F3]— manufacturer PDFs and appliance forums will explain it precisely. - Many error codes point to a sensor or switch failure that costs under $25 to fix.
Houston’s humidity specifically accelerates moisture-related sensor failures in washers and dryers. That “door sensor error” in June is almost never the door itself — it’s often oxidized contacts that need cleaning with electrical contact spray.
4. Touching Gas Appliances Without Proper Training
I’ll be blunt here: this is where DIY ends and professionals begin.
Gas ranges, gas dryers, and water heaters involve fuel lines, gas valves, and combustion components. A wrong move doesn’t just break the appliance — it can fill your house with gas or start a fire.
If your gas appliance is:
- Not igniting consistently
- Smelling faintly of gas even when off
- Producing yellow or orange flames instead of blue
…stop using it immediately and call a certified technician. This is non-negotiable.
I’ve seen homeowners try to “tighten up” a gas fitting with plumber’s tape. That’s not a fix — that’s a liability.
5. Underestimating What Houston’s Hard Water Does to Your Appliances
Houston sits on notoriously hard water — the kind that leaves white scale deposits on everything it touches. Most homeowners think this is a cosmetic issue. It isn’t.
Hard water mineral buildup causes:
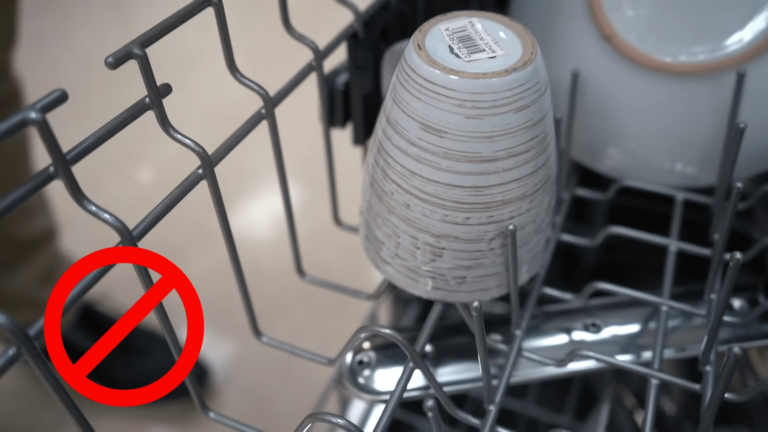
- Dishwashers to run inefficiently and leave spots on glassware (clogged spray arms)
- Water heaters to lose 20–30% efficiency and fail 3–5 years early
- Washing machines to develop mold and odor issues in the drum
- Refrigerator ice makers to clog and stop producing ice
The fix is simpler than you think:
- Run a dishwasher cleaning cycle monthly with citric acid powder or a commercial cleaner.
- Flush your water heater annually to remove sediment.
- Clean your washing machine drum every 30 days with a hot cycle + white vinegar.
I started doing monthly appliance maintenance runs after my water heater died at 7 years old. The plumber showed me a solid inch of scale at the bottom of the tank. That was a $1,200 lesson I didn’t need to learn.
6. Skipping Dryer Vent Cleaning (This One’s a Fire Hazard)
The U.S. Fire Administration estimates that dryers cause roughly 2,900 home fires annually, and the leading cause is failure to clean them.
In Houston, where humidity is high and dryers run harder to compensate, lint accumulates faster than in drier climates. Most people clean the lint trap (good) but never clean the actual vent duct running through the wall (dangerous).
Signs your dryer vent is dangerously clogged:
- Clothes take more than one cycle to dry
- The dryer feels unusually hot to the touch
- A burning or musty smell during operation
- The exterior vent flap doesn’t open fully during operation
Clean the vent duct at minimum once a year. You can do it yourself with a $25 dryer vent brush kit from any hardware store, or hire a service to do it properly.
7. Neglecting Refrigerator Condenser Coils
Here’s one almost nobody does but everyone should.
Your refrigerator’s condenser coils release heat from the refrigeration cycle. When they’re coated in dust, pet hair, and cooking grease, the compressor has to work overtime to compensate. In Houston’s summer heat, that compressor is already stressed. Dirty coils are how a 6-year-old fridge becomes a 6-year-old dead fridge.
How to clean them (15 minutes, no special tools):
- Unplug the fridge.
- Locate the coils — either behind a kick plate at the bottom front or on the back of the unit.
- Use a coil cleaning brush (or a stiff vacuum attachment) to remove buildup.
- Plug it back in.
Do this every 6 months. Your fridge will run quieter, cooler, and last years longer. I started doing this after replacing a compressor for $480 — the technician took one look at the coils and just shook his head.
8. Using the Wrong Tools and Over-Tightening Connections
DIY appliance repair doesn’t require a full mechanic’s shop, but using the wrong tools creates new problems.
Common tool mistakes:
- Using pliers on water supply line connections instead of an adjustable wrench (strips the plastic fittings)
- Over-tightening plastic drain fittings (cracks them — causes slow leaks that destroy cabinets over months)
- Using a flathead screwdriver on Torx or hex screws (strips the head, making removal a nightmare)
The Basic Appliance Repair Toolkit
| Tool | Cost | What It’s For |
|---|---|---|
| Nut driver set (1/4″ & 5/16″) | ~$12 | Removing appliance panels |
| Multimeter | ~$20–$40 | Testing electrical components |
| Adjustable wrench | ~$15 | Water line connections |
| Torx screwdriver set | ~$10 | Samsung, LG internal components |
| Appliance dolly / straps | ~$30 | Moving units safely |
| Needle-nose pliers | ~$8 | Wire connectors, springs |
Total investment: under $100. Pays for itself on the first repair.
9. Waiting Too Long — The “Limp Along” Trap
This is the most expensive mistake on this list, and it’s also the most human.
An appliance starts acting up. It still kind of works, so you live with it. The washing machine vibrates wildly on spin? You just don’t use that cycle. The oven takes forever to preheat? You just add 10 minutes.
Here’s what’s actually happening: small mechanical failures create cascading damage. A washing machine running off-balance shreds its drum bearings. An oven with a failing igniter puts strain on the entire control board.
DIY vs. Professional Repair: When Does It Make Sense?
| Scenario | DIY Feasible? | Est. DIY Cost | Est. Pro Cost | Recommended Path |
|---|---|---|---|---|
| Fridge not cooling, dirty coils | ✅ Yes | $0–$5 | $85–$150 | DIY |
| Dishwasher not draining | ✅ Yes | $10–$40 | $100–$200 | DIY first |
| Washer drum bearing failure | ⚠️ Advanced | $50–$120 | $200–$350 | Pro if unsure |
| Dryer heating element replacement | ✅ Yes | $20–$60 | $120–$220 | DIY |
| Gas appliance any issue | ❌ No | N/A | $100–$400+ | Always Pro |
| Control board replacement | ⚠️ Advanced | $80–$250 | $200–$500 | Compare to replacement cost |
| Compressor failure (fridge) | ❌ No | N/A | $300–$600 | Evaluate vs. new unit |
The rule I use: if the repair costs more than 50% of the appliance’s replacement value, seriously consider replacing it.
10. Not Vetting Your Appliance Repair Service in Houston
Houston is a big city, and like any big city, it has its share of questionable repair operations. I’ve heard stories — technicians who show up, quote $75 for diagnostics, then suddenly “discover” $600 in parts that need replacing, refuse to return your appliance panel until you pay, and vanish after a shoddy fix.
Red flags to watch for:
- No physical business address listed
- Refuses to give a written estimate before starting work
- Quotes labor + parts verbally only, nothing in writing
- Pushes replacement of multiple components at once without clear explanation
- No verifiable reviews on Google or Yelp
What a trustworthy repair service looks like:
- Transparent flat-rate or itemized quotes
- Technicians who explain what failed and why
- Warranty on parts and labor (at minimum 30–90 days)
- Responds clearly to questions without pressure tactics
Take your time choosing a repair service the same way you’d choose a contractor. The cheapest option is rarely the cheapest outcome.
The Bottom Line
Appliance repair in Houston isn’t about being a mechanical genius — it’s about knowing the basics, catching problems early, and not panicking when something stops working at the worst possible moment (which, in this city, is always a holiday weekend in July).
Run your diagnostics first. Clean the parts that get dirty. Know your limits with gas and complex electrical systems. And when you do need a pro, go in informed.
Your turn: Has one of these mistakes cost you a repair bill you could have avoided? Drop it in the comments — the more specific the disaster, the more we all learn from it. And if this saved you some money, share it with whoever just texted you about their broken dishwasher. You know exactly who that is.